- March 11, 2025
- Developer
- 0
Boost Your Productivity with Salesforce Outlook Integration: A Step-by-Step Guide
In today’s busy business world, staying organized is super important for getting things done. Imagine boosting your workflow by mixing two powerful tools you already use. Yes! I’m talking about bringing Salesforce & Microsoft Outlook together. This guide will show you how to set up and get the most out of Salesforce Outlook Integration. Are you set to boost your productivity? Let’s jump in!
Understanding Salesforce Outlook Integration
Before integrating, let’s figure out what we’re dealing with first.
What is Salesforce?
Salesforce functions as a cloud-based platform for customer relationship management (CRM), aiding businesses in organizing customer interactions, sales procedures, and marketing initiatives. It serves as an intelligent aide that centralizes all customer and sales-related information.
What is Outlook?
Microsoft Outlook acts as a personal information manager primarily designed as an email service. However, its capabilities reach far beyond that singular function, incorporating tools for scheduling, contact management, and task organization. Consider it a versatile digital tool for communication and task management.”
Benefits of integrating Salesforce with Outlook
When integrating these two together, something really cool happens. Imagine combining all that power. It’s exciting. By connecting Salesforce with Outlook, you can:
- Make your workflow smoother.
- Keep data correct & tidy.
- Enhance communication with customers.
- Talk better with customers.
- Be more productive overall.
Individually, both tools are powerful, but when integrated, they create a seamless and highly efficient workflow.
Prerequisites for Salesforce Outlook Integration
Before diving into the process, let’s check if you’ve got everything ready.
System requirements:
To get Salesforce to chat with Outlook just right, you’ll need:
- A Salesforce account (Enterprise, Unlimited, or Performance edition)
- Microsoft Outlook (2013, 2016, or Office 365)
- Windows 7 or newer
- NET Framework 4.6.2 or newer
Necessary permissions
Permissions matter, too! You need the right ones in both Salesforce and Outlook. Check if you have:
- Admin rights in Salesforce
- Permission to put apps on your computer
- Access to your organization’s Exchange server (if you need it)
Comprehensive Guide on How to Connect Salesforce with Outlook
With the groundwork now set, it’s time to dive in and start the process of integrating these two platforms!”
Installing Salesforce for Outlook:
- Begin by logging into Salesforce. It’s a simple step!
- Then, navigate to Setup, desktop Integration, and Salesforce for Outlook.
- Locate the “Download” option. Just click on it.
- Run the installer. Just follow the prompts.
Configuring Salesforce Settings:
- Access Salesforce and navigate to Setup, then proceed to Desktop Integration, followed by Salesforce for Outlook.
- opt to either create a new setup or modify an existing one.
- Configure synchronization settings for contacts, events, and tasks.
- Establish mappings for fields between Salesforce and Outlook.
Configuring Outlook Setup:
- Start Outlook and locate the Salesforce ribbon at the top of the window.
- Access the “Settings” option from the menu.
- Input your Salesforce login information to proceed further.
- Customize your sync preferences and settings to tailor your experience.
Syncing data between Salesforce and Outlook:
- Click on the “Sync” button within the Salesforce ribbon in Outlook.
- Patience is key, as the initial synchronization may take some time.
- Confirm that your data has been successfully synced.
Awesome! You’ve hooked up Salesforce with Outlook. But wait—there’s more!
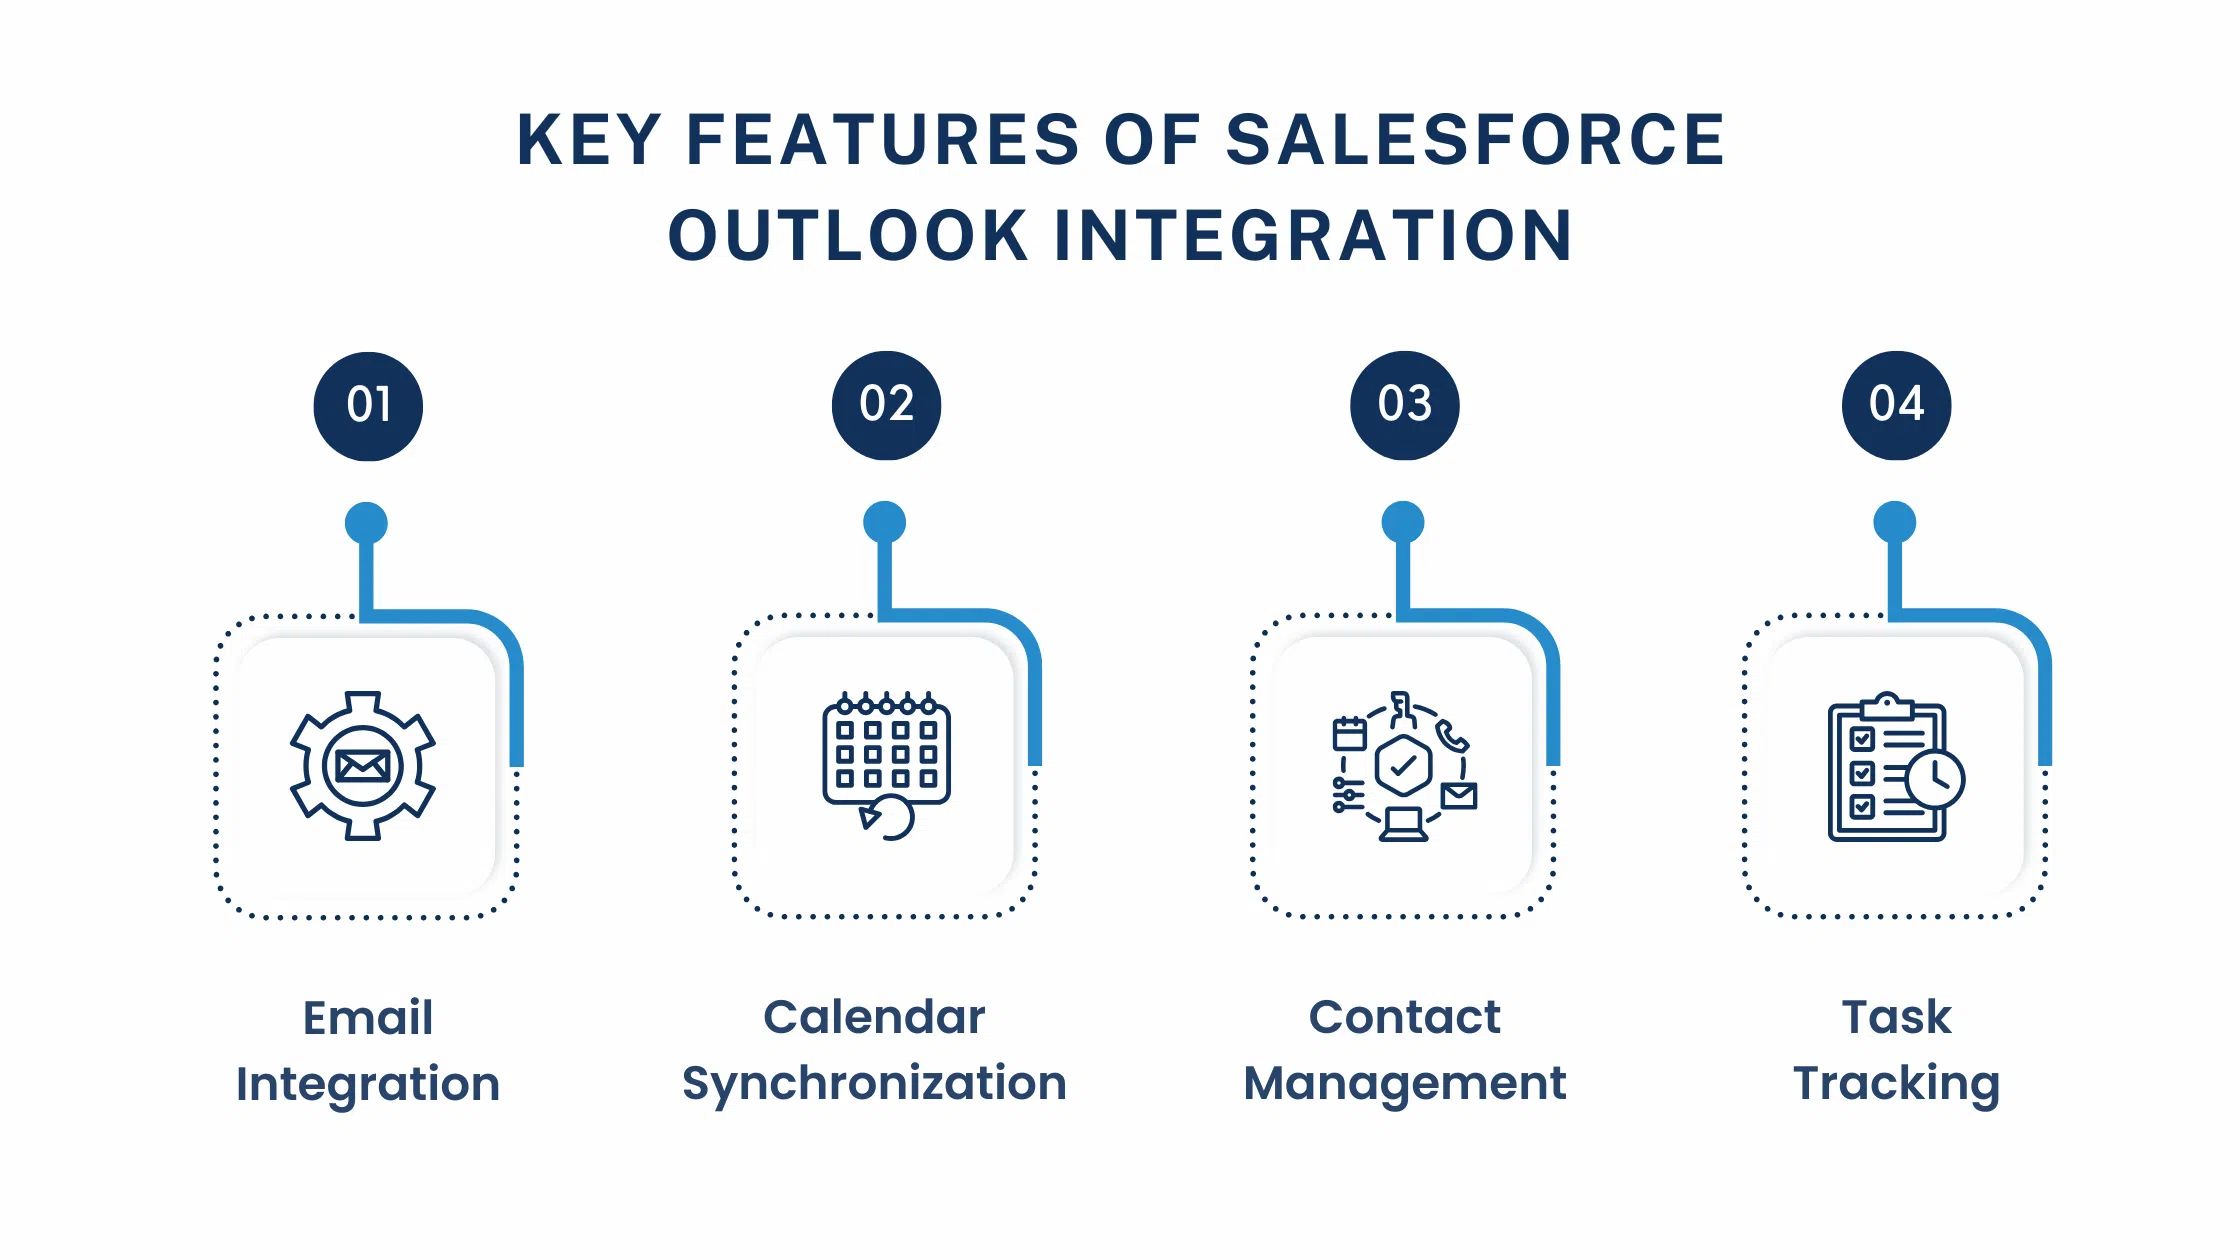
Key Features of Salesforce Outlook Integration
Now that you’re Set up let’s look at some exciting features you can Use.
1. Email Integration:
With Salesforce Outlook Integration, here are things you can do:
- Add emails right to Salesforce records from Outlook.
- Use Salesforce templates when you write Outlook emails.
- See how people engage with your emails in Salesforce.
2. Calendar Synchronization:
No more double-booking! Goodbye missed appointments! Now you can:
- Sync Salesforce events to your Outlook calendar.
- Make Salesforce events using Outlook appointments.
- Update event details in one spot & let them sync automatically.
3. Contact Management:
Keep contacts fresh on both platforms:
- Sync Salesforce contacts Outlook.
- Make new Salesforce leads or contacts from Outlook.
- Update contact info in either system, which will be reflected in the other.
4. Task Tracking:
Manage your to-do list easily:
- Sync Salesforce tasks with Outlook.
- Create new tasks in one system, and they’ll appear in both.
- Mark tasks as complete anywhere & see the update everywhere.
Tips for leveraging the Salesforce Outlook Integration
To maximize your newly integrated system, be sure to keep these best practices in mind:
Regular syncing:
Ensure that you perform data syncs on a routine basis. It is like brushing your teeth – do it regularly, and you will never face most problems!
Data organization:
Effectively arrange your Salesforce and Outlook data for easy access and management. Utilize folders, categories, and tags to streamline information retrieval and administration.
Customizing views:
Take the time to create custom views in Salesforce and Outlook. This will allow you to get to the most important information concisely.
Troubleshooting Common Issues
Even the best-integrated services can run into some bumps here and there. Some common problems and how to fix them:
- Sync errors: If you’re facing sync errors, try resetting your sync or checking for internet connectivity issues.
- Data missing: Check your sync settings and field mappings.
- These are the practical things that you can also do right now in your Salesforce org.
- Merge records using Salesforce duplicate management tools.
- Performance problems: Look for conflicting add-ins or reinstalling the integration.
Conclusion
Nothing can beat Salesforce integration with Outlook. Following this guide and using the power of the tools provided should allow you to improve your workflow, increase data accuracy, and save precious time. Integrated systems are great, but you must use them regularly and keep them maintained. So, what are you waiting for? Get out there and let their productivity be supercharged!